

Thanksgiving is near and there’s a chill in the air! When I opened my shades yesterday morning I was pleasantly surprised to see a light dusting of snow coating my car and lawn. There’s something about that first sign of snow that just gets me right into the holiday spirit!
But we all know that this chilly air has some consequences for our faces – i.e. dry skin and chapped lips!
Now, if you look on my newly added page on skincare, you’ll see why I am starting to avoid store-bought products (short version: they’re full of chemicals that should be banned by the FDA!). There are plenty of brands that make “clean” (meaning non-toxic & chemical-free) lip balms that can be found in most convenience stores. These include: Burt’s Bees, Dr. Bronner, and eos.
BUT I prefer to make my own lip balm because:
- It’s FUN!
- It’s super easy
- It’s way cheaper (ingredients will last super long and make sooo many lip balms!)
- It allows for creativity & customization of colors & flavors
- You know exactly what is going into them
- They are great little things to give away as gifts (and if you choose to make custom labels you can use them as favors at birthday parties/weddings/baby showers/etc.)
The links in this post are affiliate links. If you purchase anything through them, I will receive a small commission, at no extra cost to you, that will help me continue to bring you blog content.
DIY All-Natural Lip Balm Recipe
You will need:
- Pyrex glass measuring cup
- Fairly deep pot
- Optional: double boiler (to replace measuring cup & pot)
- Tablespoon
- Spoon (for stirring)
- Empty lip balm tubes
- Or you can get creative and use something you already have, like an altoid tin, in place of a lip balm tin
*you may want to keep the measuring cup, spoon, tablespoon, etc. separate from the ones you use for food if it bothers you to use the same ones, however since you are using all-natural ingredients this is not required!*
Ingredients:
- 3 tbsp carrier oil (I used coconut oil in this recipe)
- 1 tbsp refined shea butter (easier to work with than unrefined)
- Can also use another butter (like cocoa)
- 1+ tbsp beeswax (pastilles or grated from block)
- 15 drops essential oil (optional) – I used peppermint and coffee are my fav flavors!
- Few drops vitamin e oil (optional)
This will fill up about 7-10 lip balm tubes. You can’t really do more than that at one time, as the mixture hardens very quickly.

(The general consensus when making lip balm is that you should use a 3:1:1 ratio for oil, butter, and beeswax. If it comes out a little too soft, you should add more beeswax, and if it comes out a little too hard, you should add more oil. I wrote 1+ tbsp of beeswax because I find that one even tablespoon makes the balm a bit too soft, so I use a heaping tablespoon).
Instructions:
- First, you want to make sure you have your lip balm tubes (or tins) prepared. You can invest in a special tray to hold tubes & keep them steady, or just band them together as I did!

- Fill up your pot a few inches with water and set it to low-medium heat.
- Measure out carrier oil, butter, and beeswax into the glass measuring cup.

- Place measuring cup into pot of water. Stir ingredients periodically until they are fully melted. The beeswax will take the longest to melt.


- Once melted, remove pot from heat, but keep measuring cup submerged. At this point, add vitamin e oil and essential oils if you are planning to. Stir them into the mixture.
- Remove measuring cup from water and wipe any excess water from the bottom of it (to avoid it dripping into lip balm tubes).
- Pour mixture into tubes. Take care not to overfill them! While you do have to be gentle, the whole process must take place fairly quickly, as the mixture hardens fast!

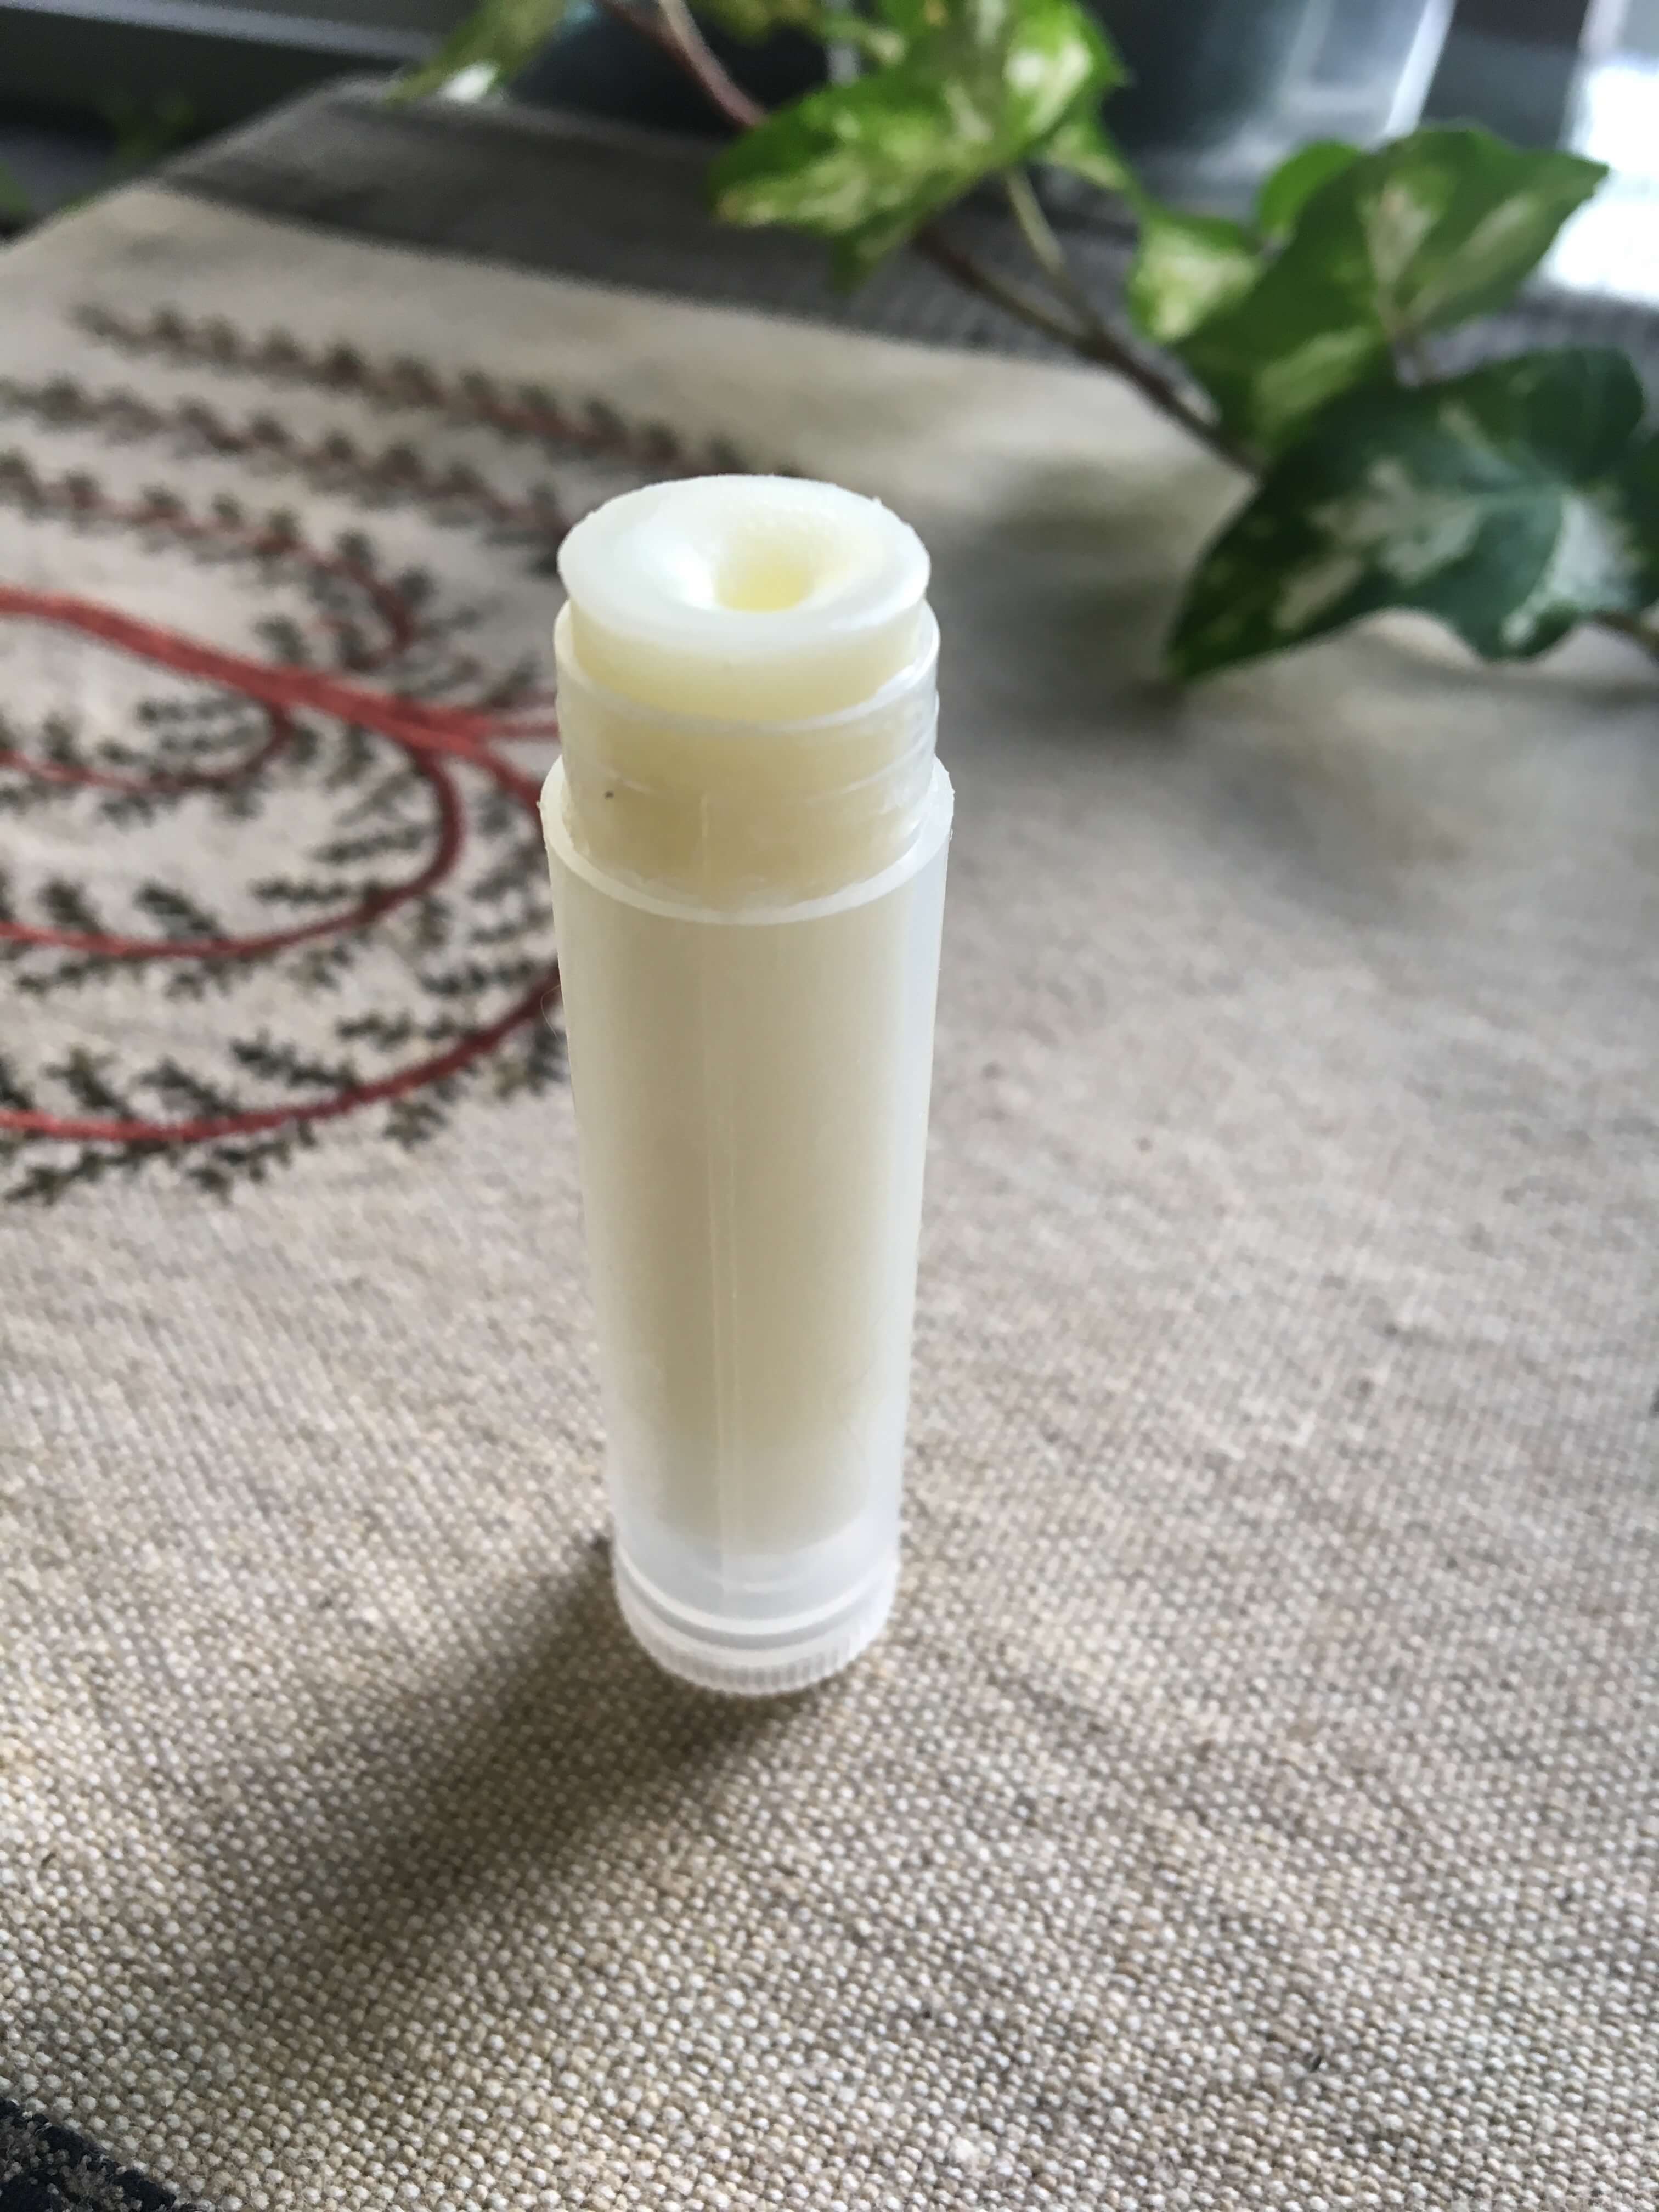
- Let sit until completely cooled. It doesn’t take too long! Once cooled, you can put the caps on and any labels you might have.

Here are the complete instructions without pictures (for quick reference):
- Make sure you have your lip balm tubes prepared and ready to be filled.
- Fill up your pot a few inches with water and set it to low-medium heat.
- Measure out oil, butter, and beeswax into the glass measuring cup.
- Place measuring cup into pot of water. Stir ingredients periodically until they are fully melted.
- Once melted, remove pot from heat, but keep measuring cup submerged. At this point, add vitamin e oil and essential oils if you are planning to. Stir them into the mixture.
- Remove measuring cup from water and wipe any excess water from the bottom of it.
- Pour mixture into tubes. Take care not to overfill them! While you do have to be gentle, the whole process must take place fairly quickly, as the mixture hardens fast
- Let sit until completely cooled. It doesn’t take too long! Once cooled, you can put the caps on and any labels you might have.

There are plenty of other variations you can use, including using different flavors and combinations of essential oils, and even adding various root and seed powders to make them different colors (more on this in a future post!).
And don’t forget – everyone appreciates a homemade Christmas gift! These make great stocking stuffers 😉


